AirPods are a popular wireless earbud option for Apple users, but did you know that you can also use them with your Windows 10 PC? Connecting your AirPods to your PC is a simple process that can be done in just a few steps. In this article, we will guide you through the process of connecting your AirPods to your Windows 10 PC.
On AirPods
- Before pairing, make sure that AirPods are at least 40% charged. If not, insert into the AirPod case, and charge it. Keep it inside for the pairing process.
- Open the cap of your AirPods’ case.
- Press and hold the circular button on the rear portion of the charging case for few seconds.
- Release the button when the light inside the case blinks in white colour.
On Windows 10 PC
- Open your Windows PC's Bluetooth settings by clicking the Bluetooth icon in the system tray all the way to the right of your taskbar, or by searching for "Bluetooth" in your taskbar search field and clicking the "Bluetooth and other devices settings" option when it appears.
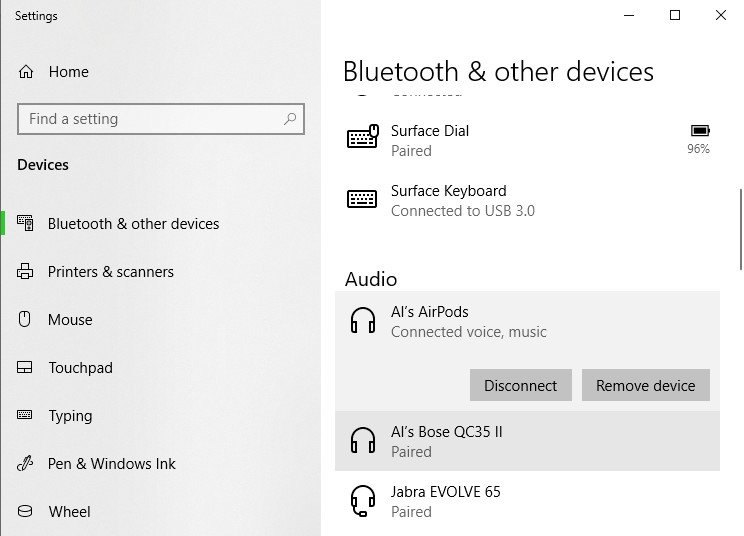
- Scroll down to the Audio section under the "Bluetooth and other devices" list, and click on the AirPods listing.
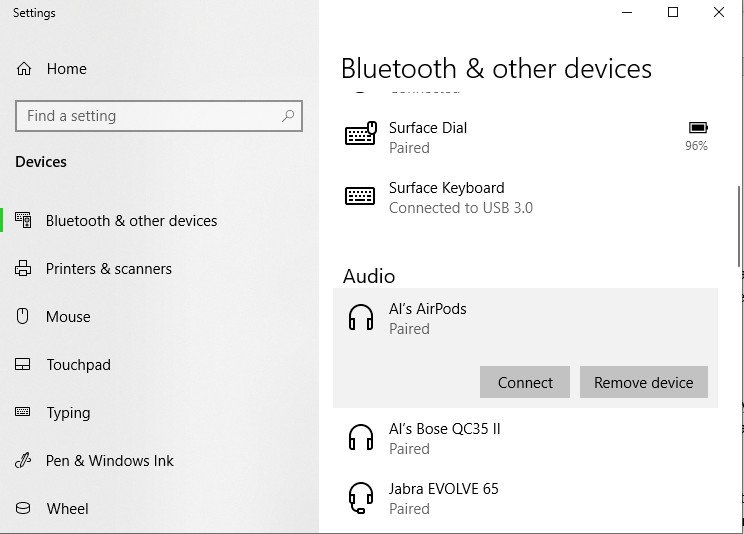
- Click Connect to reconnect your AirPods and PC.
- You'll hear an audio confirmation if you're wearing your AirPods, and your Bluetooth settings screen will read "Connected voice, music" beneath AirPods listing.